Image Classification with Convolutional Neural Networks - Classifying Cats and Dogs in Python
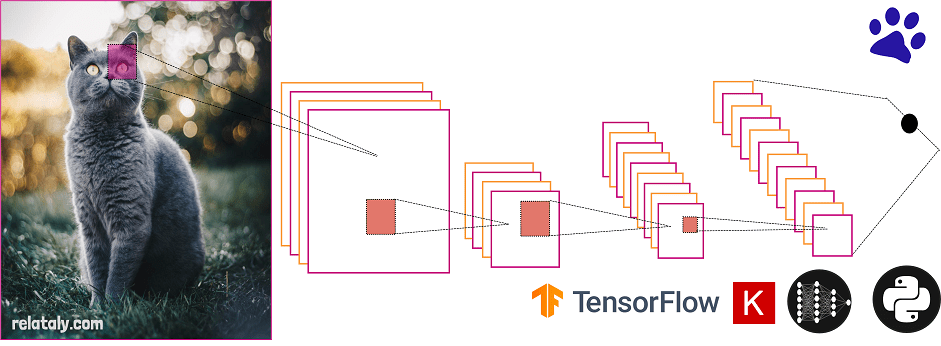
Convolutional neural networks (CNNs) learn image features through convolution, pooling, and dense prediction layers. This updated tutorial keeps that core workflow but uses a deterministic synthetic image fixture so every reader can execute the complete example without downloading a large archive.
What the model learns
Class 0 contains warm diagonal textures and class 1 contains cool vertical textures. These are not real cats and dogs; they are a reproducible stand-in for testing preprocessing, model construction, training, and evaluation. Replace the fixture arrays with licensed photographs before drawing conclusions about real image recognition.
Build the CNN with current Keras
model = tf.keras.Sequential([
    tf.keras.layers.Input(shape=(32, 32, 3)),
    tf.keras.layers.RandomFlip("horizontal", seed=SEED),
    tf.keras.layers.Conv2D(12, 3, activation="relu"),
    tf.keras.layers.MaxPooling2D(),
    tf.keras.layers.Conv2D(24, 3, activation="relu"),
    tf.keras.layers.GlobalAveragePooling2D(),
    tf.keras.layers.Dropout(0.15, seed=SEED),
    tf.keras.layers.Dense(1, activation="sigmoid"),
])
An explicit Input layer, current augmentation layers, and GlobalAveragePooling2D replace the older generator and flatten-heavy workflow. A stratified validation split remains untouched during fitting.
Evaluate predictions
The notebook plots training and validation accuracy, a validation confusion matrix, and probabilities for sample images.
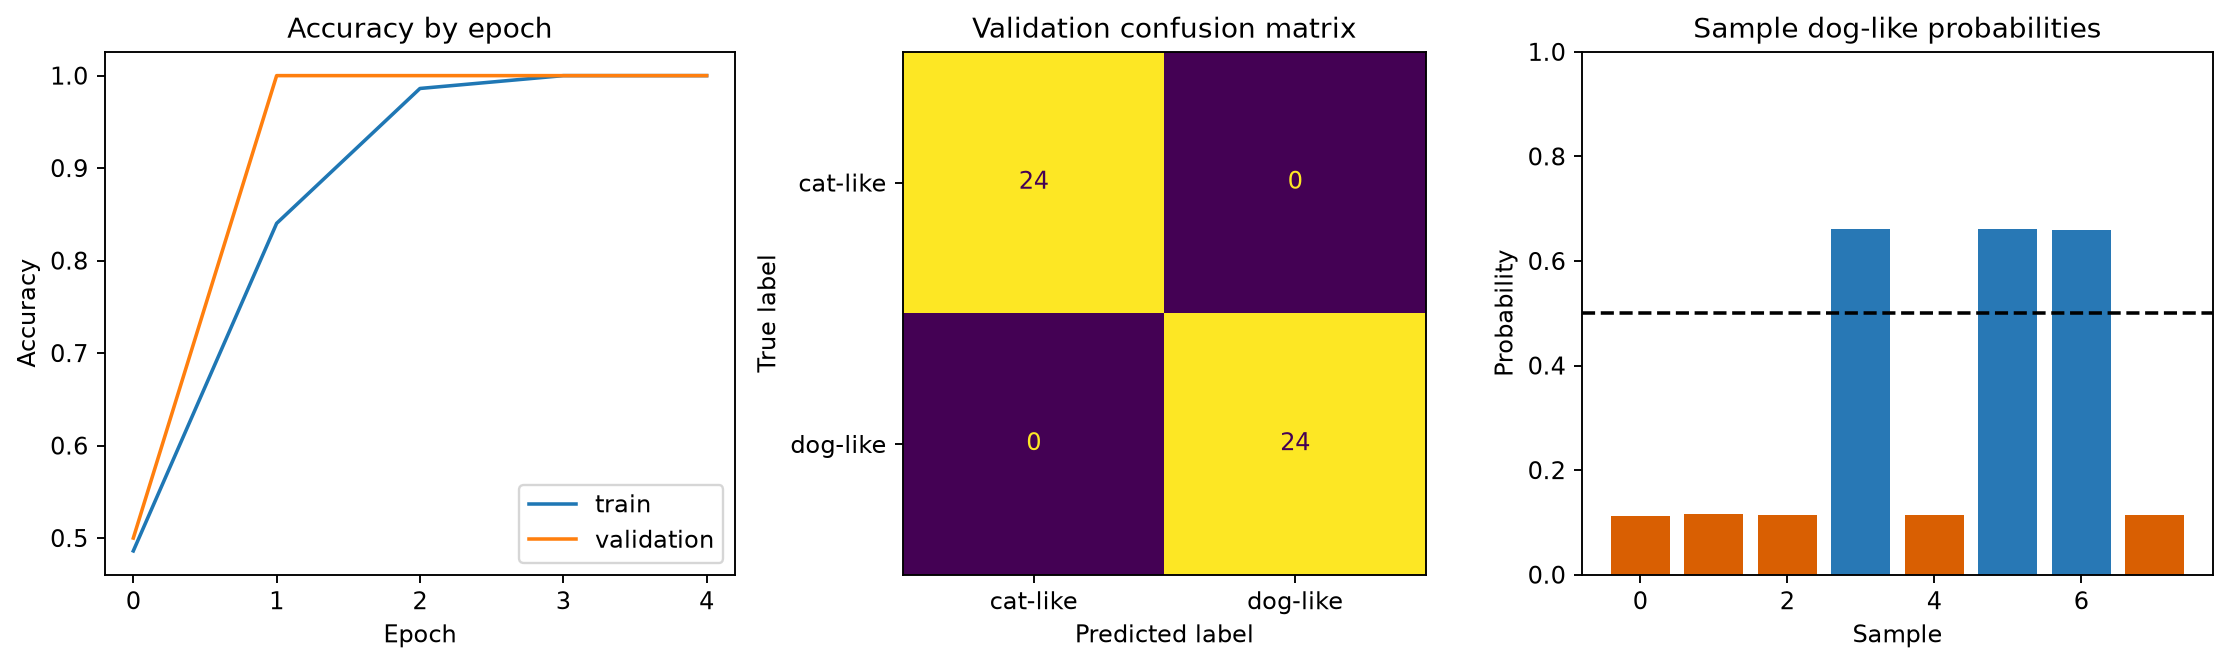
The fixture checks that the pipeline works; it does not establish accuracy on cats, dogs, or any production image distribution. A real project also needs licensed representative images, duplicate checks, subgroup analysis, and an external test set.